Content
Namecheap Where to Update MX Records for Gmail: Full Guide
You want to use Gmail for your domain's email.
This comprehensive guide shows you exactly namecheap where to update mx records for gmail.
We cover everything from understanding MX records to troubleshooting.
Follow these precise steps to ensure your emails work perfectly.
In today's digital landscape, a professional email address is no longer a luxury but a necessity. Statistics show that businesses using custom domain emails are perceived as more credible and trustworthy by 74% of consumers, according to a recent survey by Statista. This guide is your definitive resource for understanding exactly namecheap where to update mx records for gmail, ensuring your brand communicates effectively and professionally.
Understanding MX Records and Gmail Integration
What are MX Records and Why Are They Crucial?
MX records are special DNS entries.
They tell the internet where to send emails for your domain.
They are essential for email delivery.
Without correct MX records, your emails won't reach you.
Benefits of Using Gmail for Your Domain Email
Gmail, powered by Google Workspace, offers a robust and familiar platform for managing your professional communications. Beyond just spam filtering, you benefit from:
- Generous Storage: Ample space for emails and attachments.
- Seamless Integration: Connects with Google Drive, Calendar, Meet, and other productivity tools.
- Advanced Security: Google's industry-leading security features protect your inbox.
- Mobile Accessibility: Access your emails from any device, anywhere.
Leveraging these benefits starts with correctly configuring namecheap where to update mx records for gmail, directing all your domain's email traffic to Google's reliable servers.
Gmail offers powerful email features.
It provides excellent spam filtering and a familiar interface.
You can use your custom domain like "yourname@yourdomain.com".
This looks professional and is easy to manage.
Preparing for Your Namecheap MX Record Update
Before you start, gather some information.
You will need your Namecheap login details.
Also, have Google's specific MX record values ready.
This preparation makes the process smooth.
Pre-Update Checklist for a Smooth Transition
Before you dive into the technical steps of namecheap where to update mx records for gmail, a quick checklist can prevent common headaches:
- Confirm Namecheap Login: Ensure you have your username and password handy.
- Gather Google MX Values: Have the exact Google MX records (priorities and destinations) copied or open in a separate tab.
- Backup Existing Records: Take screenshots or note down any current MX records on Namecheap. This serves as a safety net.
- Inform Stakeholders: If others rely on your domain email, inform them about potential brief downtime during propagation.
- Stable Internet Connection: A reliable connection prevents interruptions during critical updates.
Taking these preliminary steps ensures you're fully prepared for a seamless update.
Locating Your Domain Management on Namecheap
Logging into Your Namecheap Account
Open your web browser first.
Go to the Namecheap website.
Enter your username and password to log in.
This gives you access to your domain settings.
Navigating to Your Domain List and Advanced DNS
Once logged in, find your "Domain List."
Click on the "Manage" button next to your domain.
Look for the "Advanced DNS" tab next.
This is where you will change your MX records.
Essential Information Before You Begin Updating MX Records
Always back up your current DNS settings if possible.
Note any existing MX records you have.
This helps if you need to revert changes.
Google provides specific MX record values you must use.
Step-by-Step: Namecheap Where to Update MX Records for Gmail
Removing Existing MX Records on Namecheap
First, you need to clear old mail settings.
Go to the "Advanced DNS" tab for your domain.
Find any existing "Mail Exchanger" (MX) records.
Click the trash can icon to delete them one by one.
Adding Google's MX Records to Your Namecheap DNS
Now, you will add the new records for Gmail.
Google provides five specific MX record entries.
You need to add each one individually.
Here is a table with the correct Google MX records:
| Priority | Destination | TTL (Time To Live) |
|---|---|---|
| 1 | ASPMX.L.GOOGLE.COM | Automatic (or 3600) |
| 5 | ALT1.ASPMX.L.GOOGLE.COM | Automatic (or 3600) |
| 5 | ALT2.ASPMX.L.GOOGLE.COM | Automatic (or 3600) |
| 10 | ALT3.ASPMX.L.GOOGLE.COM | Automatic (or 3600) |
| 10 | ALT4.ASPMX.L.GOOGLE.COM | Automatic (or 3600) |
For each record, select "MX Record" as the type.
Enter the "Host" as "@" (or your domain name).
Input the "Value" (Destination) and "Priority" from the table.
Set the TTL to "Automatic" or 3600 seconds.
Click the green checkmark to save each record.
Expert Tip: Common Pitfalls When Adding MX Records
When you're configuring namecheap where to update mx records for gmail, precision is paramount. A common mistake is overlooking the 'Host' field; for your primary domain, it should almost always be '@'. Another frequent error is forgetting to click the green checkmark (or save button) after *each* individual record entry. Unlike some other DNS changes, MX records often need to be saved one by one. Double-check that the TTL (Time To Live) is set to 'Automatic' or 3600 seconds, which dictates how quickly changes propagate. Patience and meticulousness here will save you significant troubleshooting time later.
Verifying the MX Record Entries for Gmail on Namecheap
After adding all records, double-check them.
Ensure the priorities and destinations match exactly.
A small typo can prevent your emails from working.
This careful review is a critical step.
Confirming Your Gmail MX Record Propagation
Using Online MX Lookup Tools to Check Propagation
DNS changes take time to spread across the internet.
You can use online tools to check your MX records.
Websites like MXToolbox.com or Google Admin Toolbox are useful.
Enter your domain name to see the current MX records.
Sending a Test Email to Verify Functionality
Once the records show correctly, send a test email.
Send an email from an external address (e.g., a personal Gmail) to your new domain email.
Then, send an email from your new domain email to an external address.
This confirms both sending and receiving are working.
Understanding DNS Propagation Timeframes for Namecheap Updates
DNS propagation can take anywhere from a few minutes to 48 hours.
Most Namecheap updates propagate within a few hours.
Be patient during this period.
Do not make further changes unless necessary.
Real-World Propagation Scenario & Testing Tips
While DNS propagation can take up to 48 hours, for most Namecheap users, updates for namecheap where to update mx records for gmail typically reflect within 1-4 hours. However, your local internet service provider (ISP) or computer's DNS cache might still show old records. To get an accurate view of propagation, try checking your domain's MX records from different networks (e.g., your phone's mobile data vs. home Wi-Fi) or using online tools in an incognito browser window. If you're still seeing old records after several hours, clearing your local DNS cache (e.g., ipconfig /flushdns on Windows) can sometimes help your system pick up the new records faster.
| Tip | Description |
|---|---|
| Be Patient | DNS changes take time to fully propagate. |
| Double-Check | Verify every character of the MX records. |
| Clear Cache | Your browser or DNS cache might show old data. |
Troubleshooting Common Namecheap MX Record Issues
Dealing with Incorrect MX Record Entries or Typos
Mistakes happen, especially with long record values.
If emails aren't working, re-check your MX records on Namecheap.
Compare them against Google's official list carefully.
Delete incorrect entries and add them again precisely.
| Error Type | Impact |
|---|---|
| Typo in Destination | Emails bounce or get lost. |
| Incorrect Priority | Emails might be delivered slowly or to wrong server. |
| Old Records Remain | Conflict with new Gmail records, causing issues. |
Resolving Email Delivery Delays or Failures After Update
Delays often mean propagation is still happening.
Wait a bit longer and re-test.
If failures persist, check your domain's DNSSEC settings.
Sometimes, DNSSEC can interfere with new DNS records.
When to Contact Namecheap Support for Assistance
If you have followed all steps and still face issues, contact Namecheap support.
They can check server-side configurations.
Provide them with screenshots of your settings.
Mention that you followed the namecheap where to update mx records for gmail guide.
Conclusion
Updating your MX records on Namecheap for Gmail is straightforward.
This guide provided a complete step-by-step process for namecheap where to update mx records for gmail.
You learned how to prepare, update, and verify.
Now your domain email should be fully functional with Gmail.
Frequently Asked Questions
Why is it important to update MX records for Gmail?
MX records are like a postal address for your domain's email.
They tell the internet where to deliver your incoming messages.
Updating them to Google's servers ensures your emails go to your Gmail inbox.
This setup provides Gmail's strong spam filters and reliable service for your custom domain email. Using Gmail for your domain email helps you manage communications efficiently, much like how platforms like CVShelf streamline hiring processes.
What happens if I have existing email services on Namecheap?
When you update your MX records, your old email service will stop working.
All incoming emails will start going to your Gmail account instead.
Before making changes, it is wise to back up any old emails you want to keep.
You might need to migrate existing emails to Gmail if you wish to access them there.
How long does it typically take for MX record changes to become active?
DNS changes do not happen instantly across the entire internet.
This process is called DNS propagation.
It can take a few minutes to up to 48 hours for changes to fully spread.
You can use online tools like MXToolbox.com to check if your new records are live.
Can I use Gmail for my domain email without paying for Google Workspace?
No, you need a Google Workspace account to use Gmail with your custom domain.
The free personal Gmail account only allows emails ending in "@gmail.com".
Google Workspace provides professional email, cloud storage, and other business tools.
Consider Google Workspace as your central hub for business operations, much like how CVShelf serves as a central platform for recruitment. Just as Google Workspace provides integrated solutions for communication and collaboration, CVShelf streamlines the entire hiring process from resume screening to candidate management. Both platforms are designed to enhance efficiency and professionalism, making your business operations smoother and more effective.
Google Workspace offers powerful tools and features for businesses, including custom email addresses. You can explore its benefits, similar to how CVShelf features help HR teams.
What are the most common mistakes when updating MX records for Gmail?
Many users face issues during the update process.
One common mistake is not deleting all old MX records before adding new ones.
Another frequent error is typos in the Google MX record values or incorrect priorities.
Always double-check every character when you are configuring namecheap where to update mx records for gmail.
- Not removing old MX records.
- Typing errors in the destination server names.
- Setting incorrect priority numbers for the records.
- Forgetting to use "@" as the host for the domain.
Is the process different if my domain is with GoDaddy instead of Namecheap?
The core concept of updating MX records remains the same across registrars.
You still need to log into your domain provider's control panel.
The main difference lies in the specific navigation and interface.
For example, a godaddy server setting interface will look different from Namecheap's.
| Registrar | Common Navigation | Specifics |
|---|---|---|
| Namecheap | Domain List > Manage > Advanced DNS | Clear "Mail Settings" dropdown, add "MX Record" types. |
| GoDaddy | My Products > DNS > DNS Management | Look for "Records" section, add "MX" type. |
| General | DNS Management / Zone File Editor | Always look for MX record type and host/value/priority fields. |
My emails are still not working after updating. What should I do?
First, re-verify all your MX records on Namecheap for exact matches.
Use an online MX lookup tool to confirm propagation, as it might still be ongoing.
Clear your browser's cache and try sending a test email from a different email provider.
If issues persist, contact Namecheap support, providing screenshots of your settings. If you need advanced solutions for managing your business operations, consider platforms that offer efficiency, like checking out CVShelf's pricing for recruitment automation.
How useful was this post?
Click on a star to rate it!
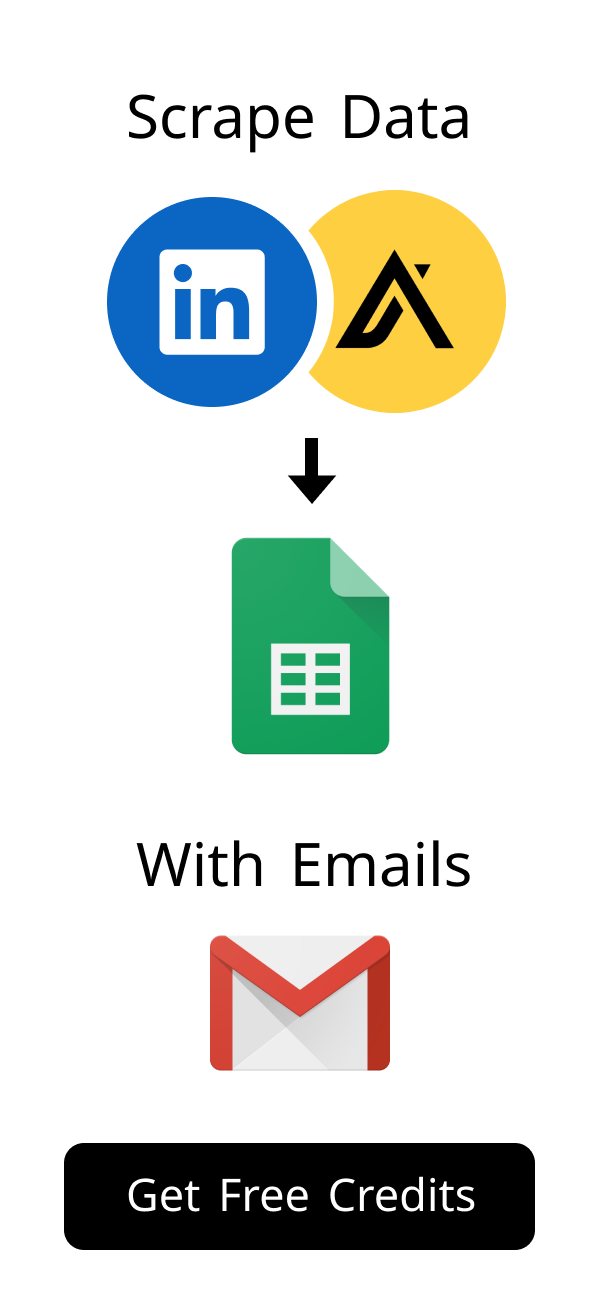
Export Leads from
Sales Navigator, Apollo, Linkedin